Worksuite
Payroll Module
- Created: 03 Dec 2019
- Latest update: 03 Dec 2019
- by: Abhinav Saraswat
- email: abhinav@froiden.com
Thank you for purchasing my script. If you have any questions that are beyond the scope of this help file, please feel free to email via my user page contact form here. Thanks so much!
Description
Server Requirements
- PHP >= 8.1.0
- OpenSSL PHP Extension
- PDO PHP Extension
- Mbstring PHP Extension
- Tokenizer PHP Extension
- XML PHP Extension
- GD PHP Extension
- Fileinfo PHP Extension
Installation
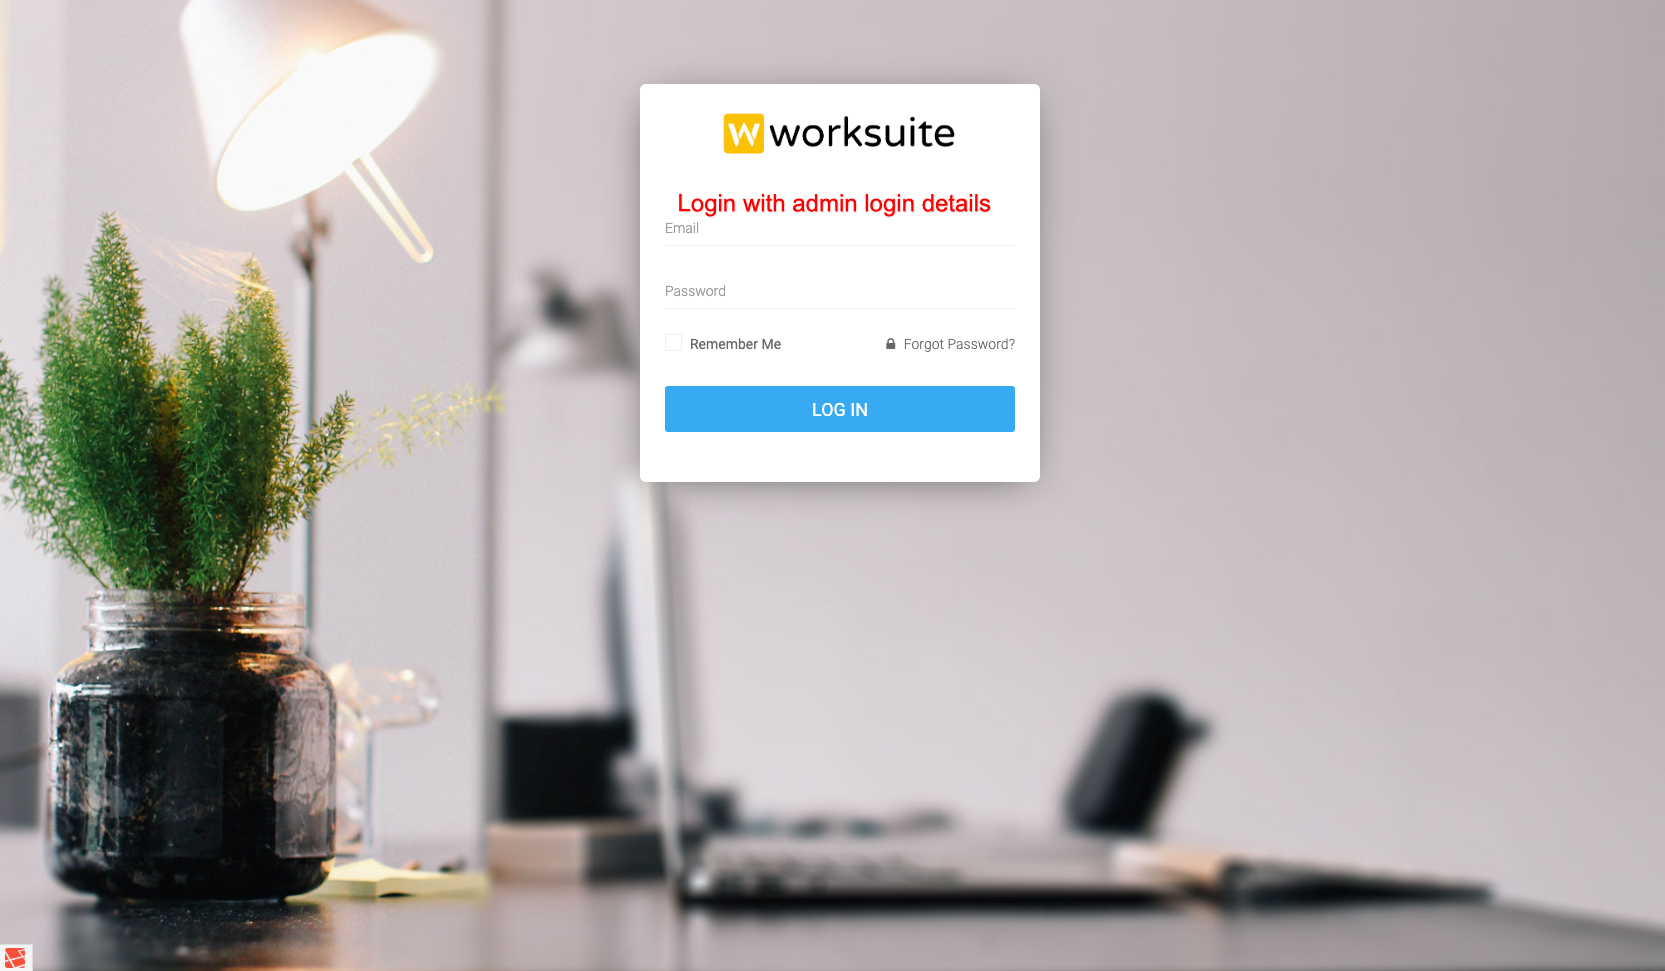
Step 1 - Login Screen
You first need to login with your admin login credentials in your worksuite app.
Step 2 - Go to Module Install Page
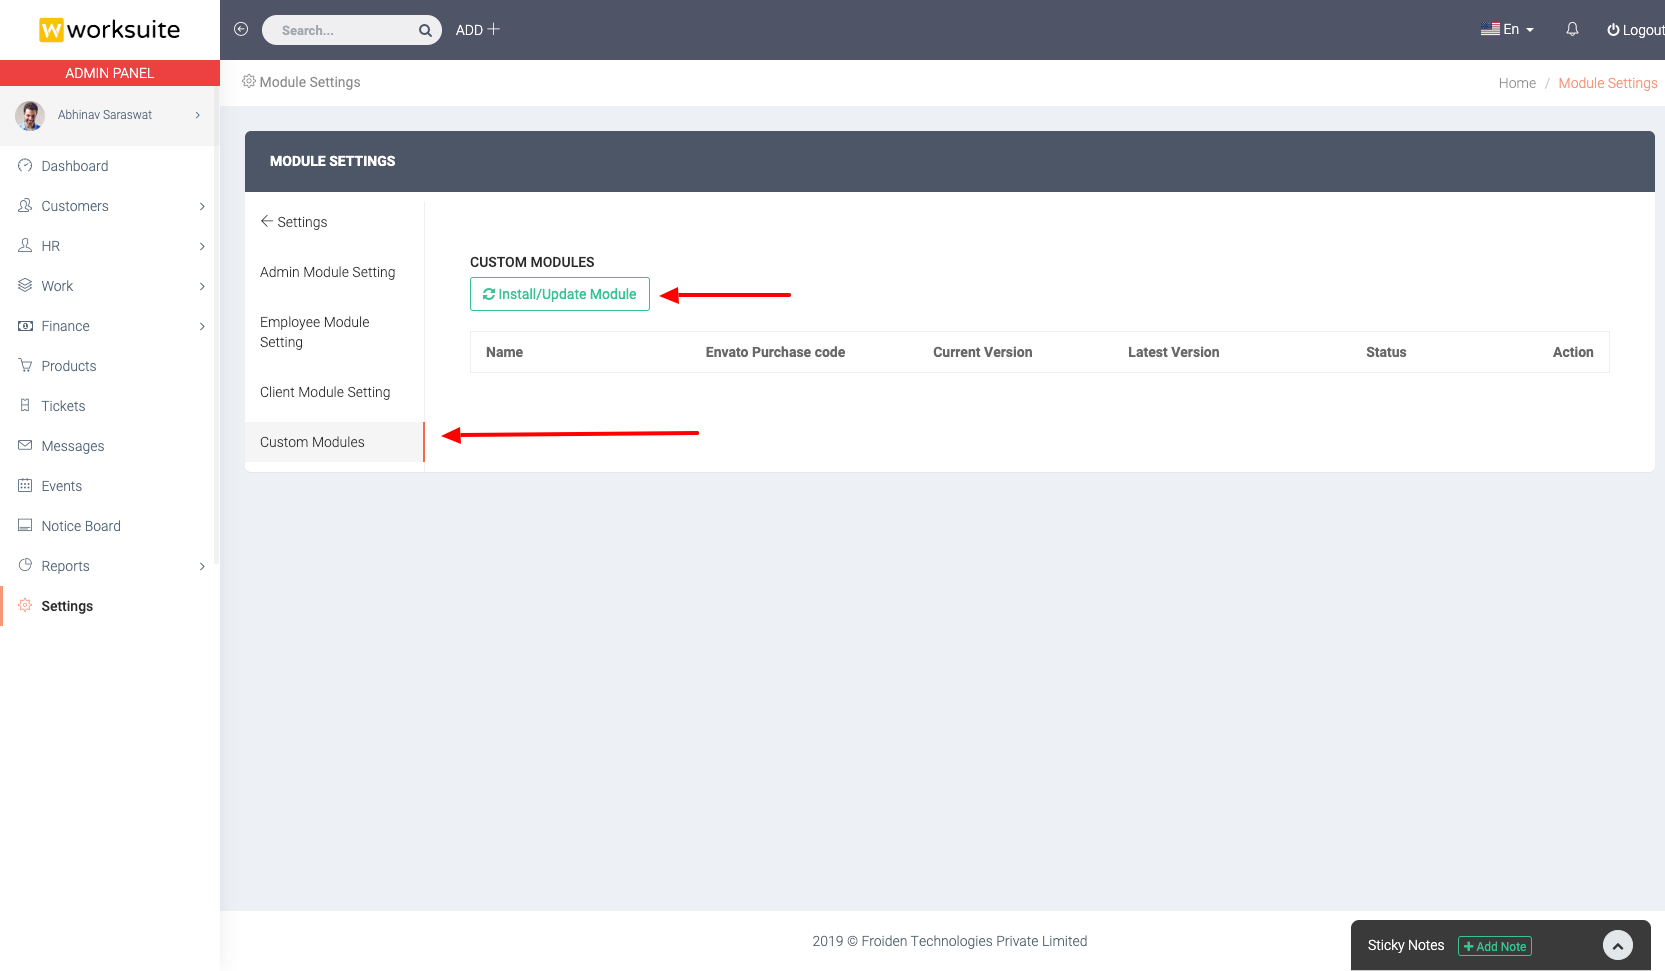
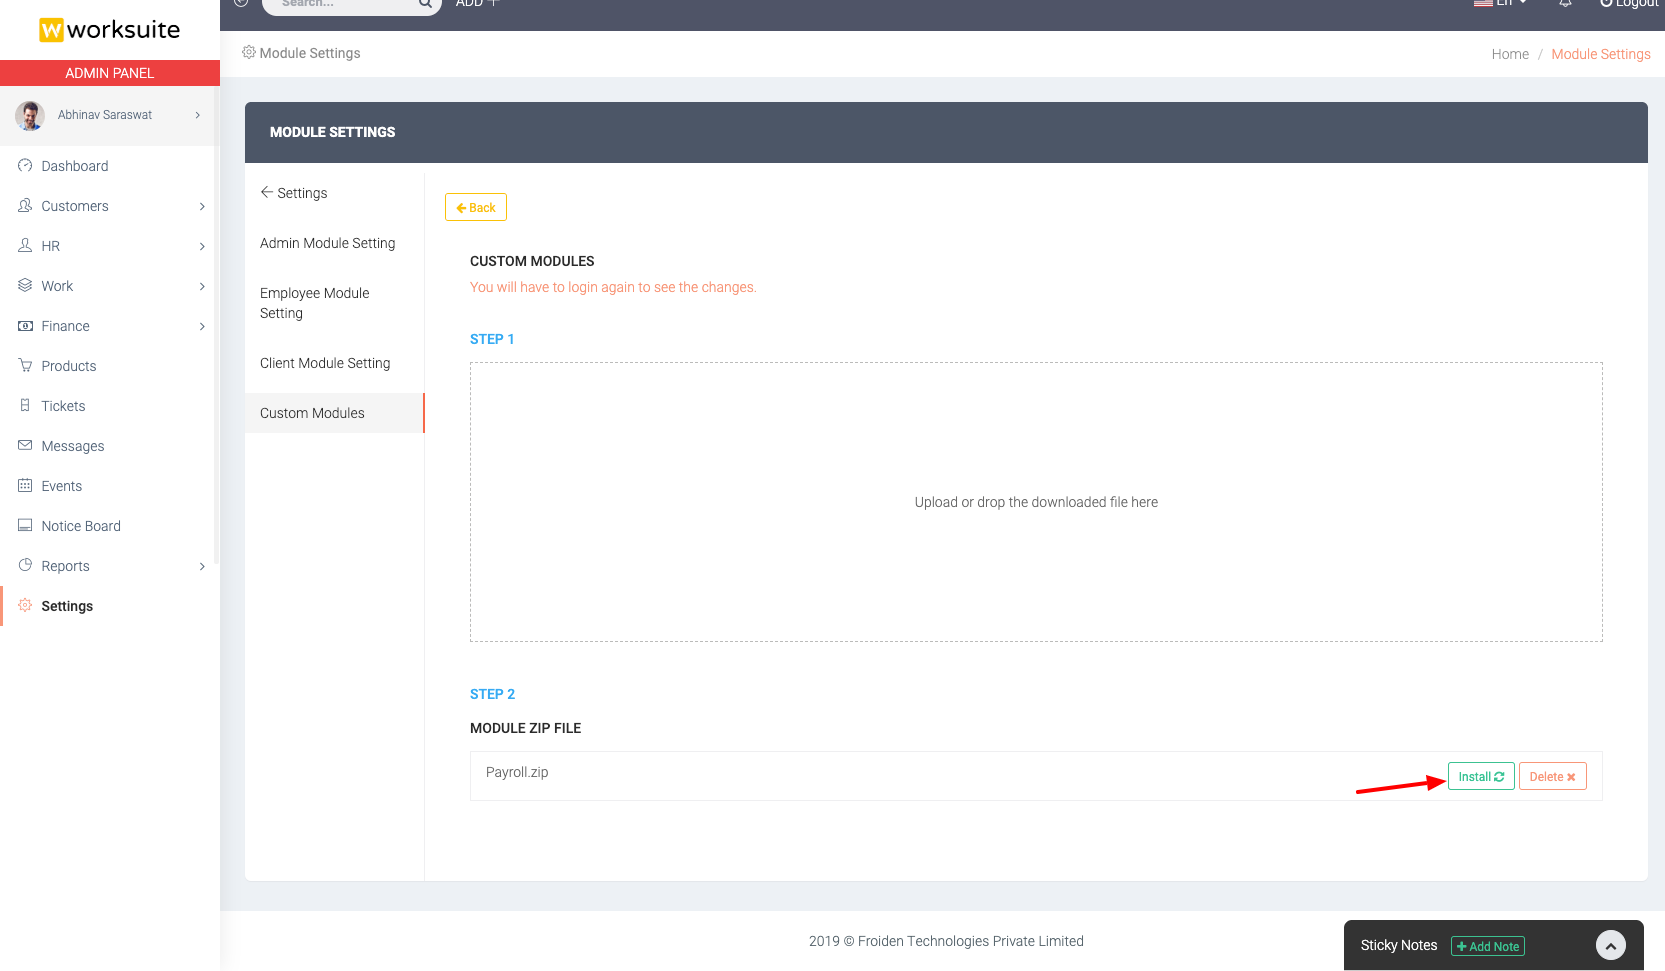
After logging in as admin, Go to Settings -> Module Settings -> Custom Modules. And now click on Install Module button.
Step 3: Upload module zip archive
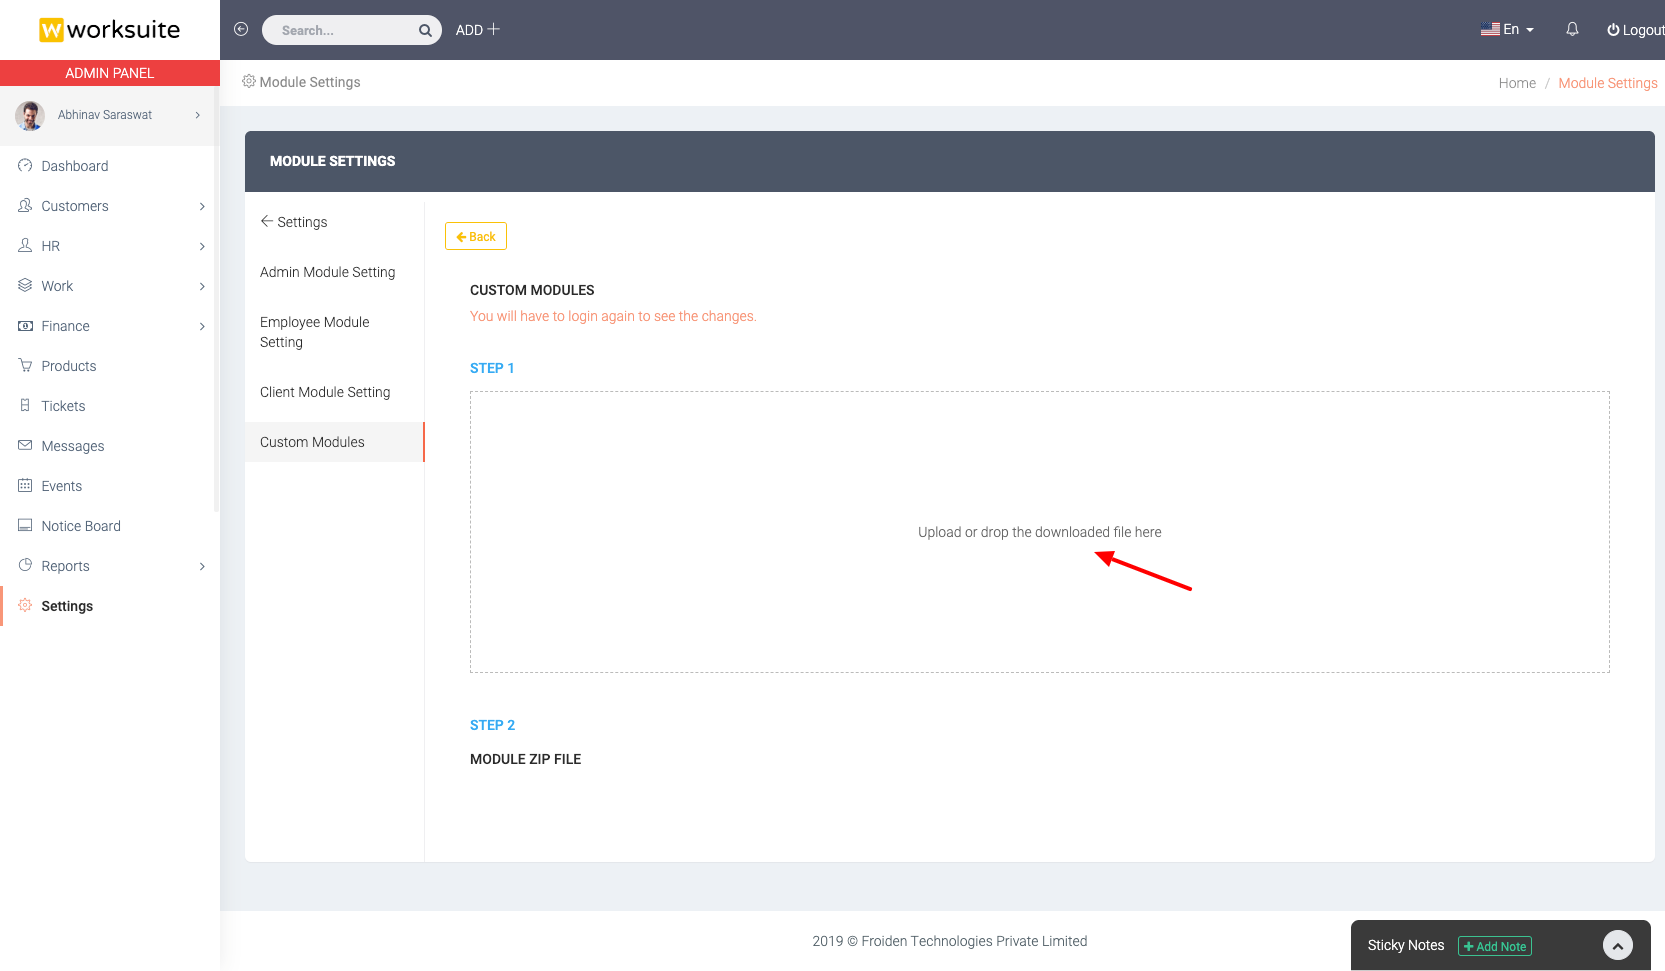
- Download the latest files from the codecanyon of the payroll module and Extract the zip file.
- You will have to upload the Payroll.zip file on install module page.
Step 4 - Install Module
- After upload the file refresh the page.
- You will see the recently uploaded zip file. Click Install button in front of it.
- The module will be installed and you will be redirected to login page.
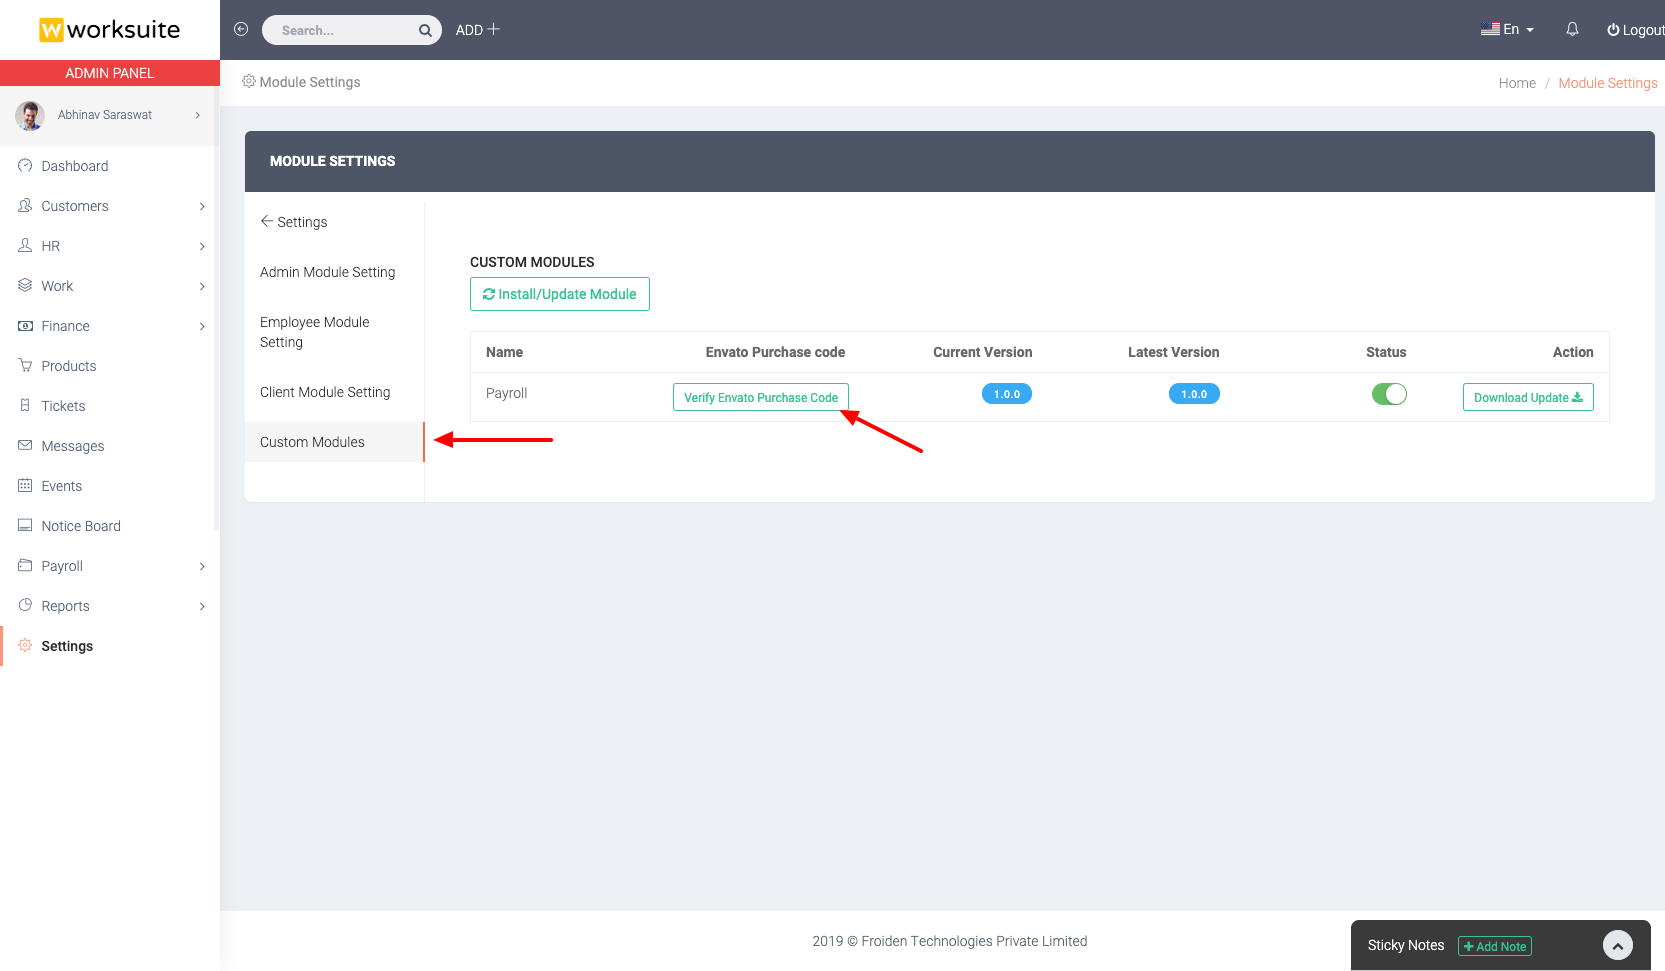
Step 5: Verify Module Purchase
You need to verify your module purchase for the seamless experience.
Payroll Setup
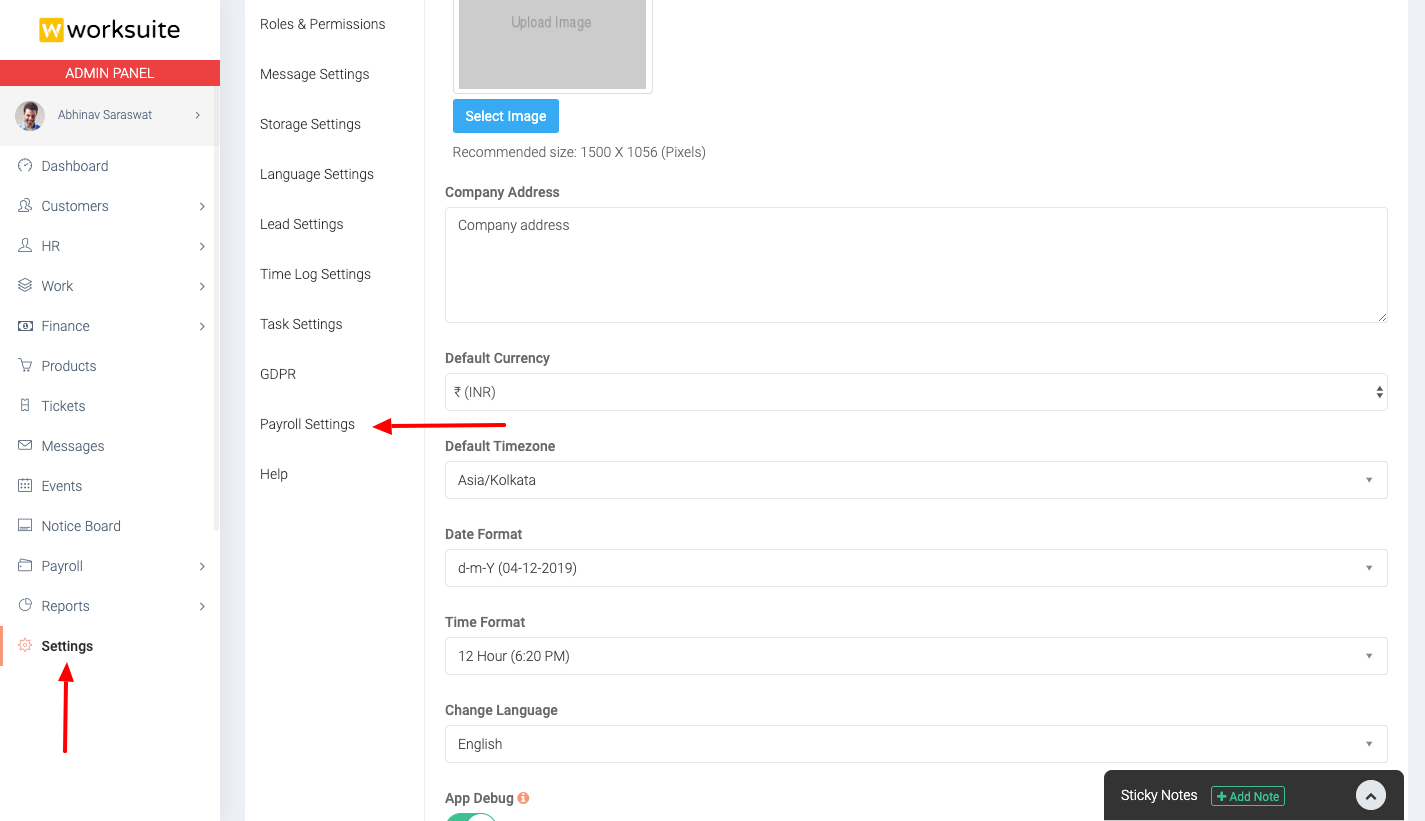
Step - 1 : Payroll Settings
Go to Settings -> Payroll Settings
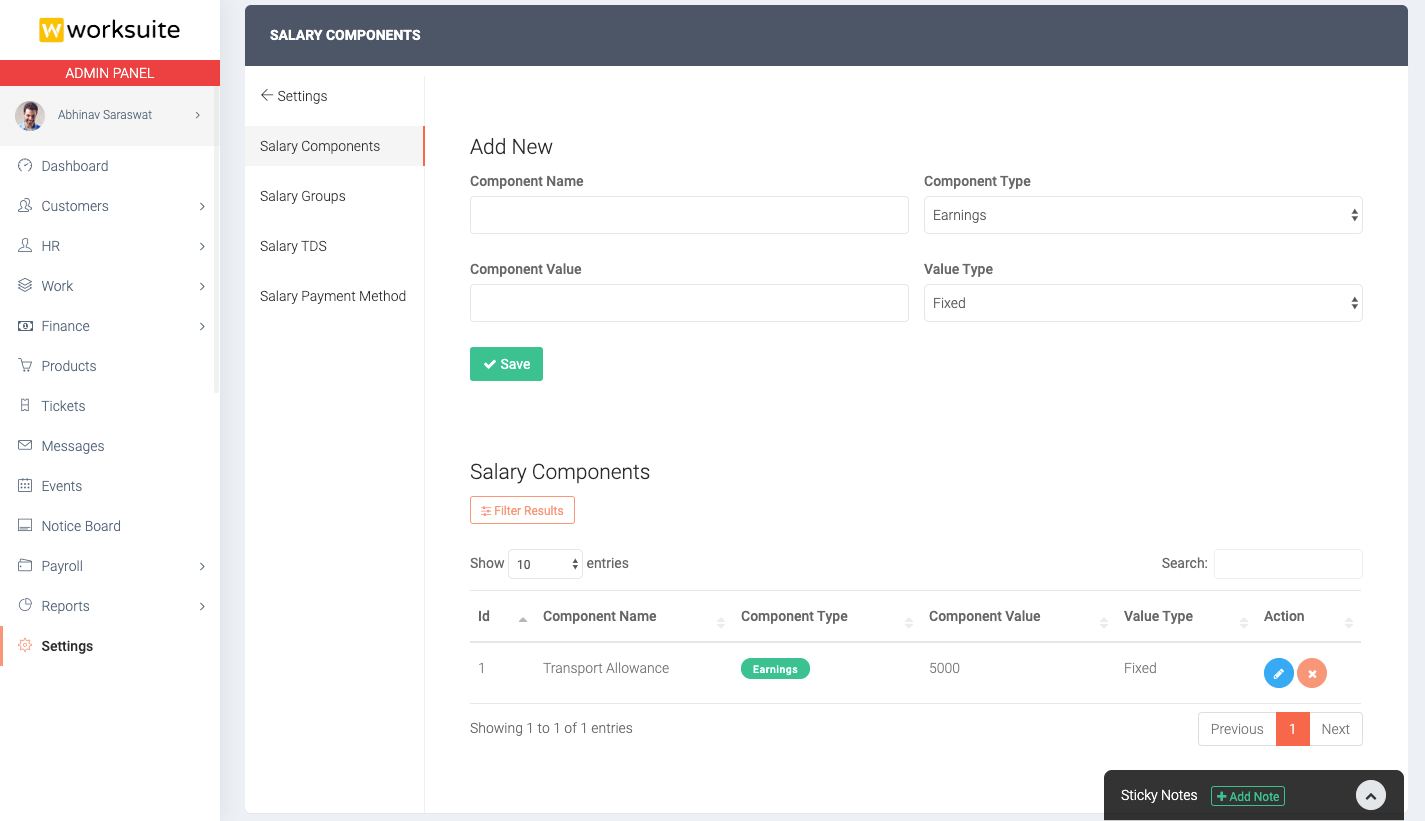
Step - 2 : Salary Components
You first need to add salary components. Components are of 2 types Earning or Deduction. Components can be fixed or percent of net salary basis.
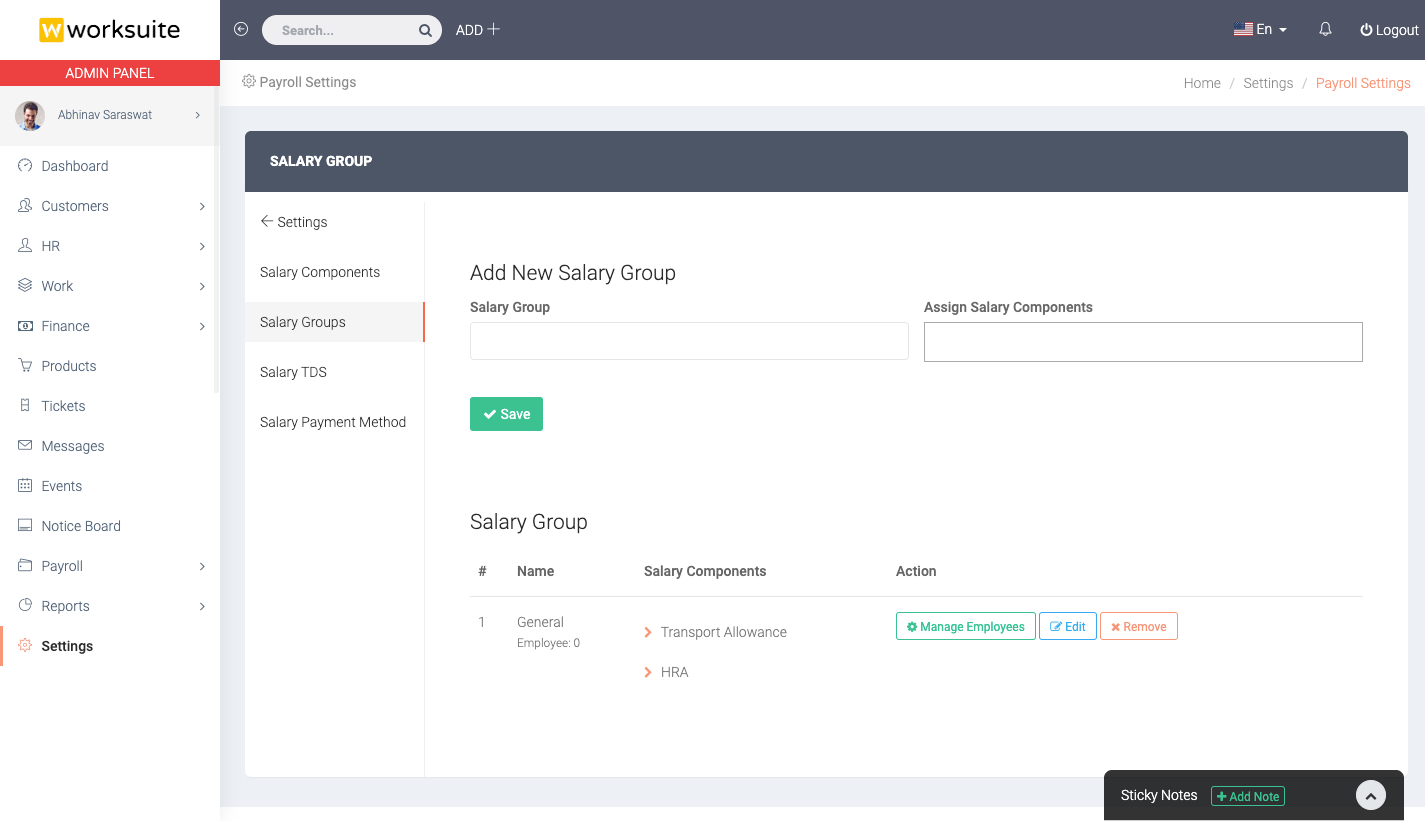
Step - 3 : Salary Groups
Once you have created the salary components you need to assign the components to a salary group. So create and assign the components to a salary group.
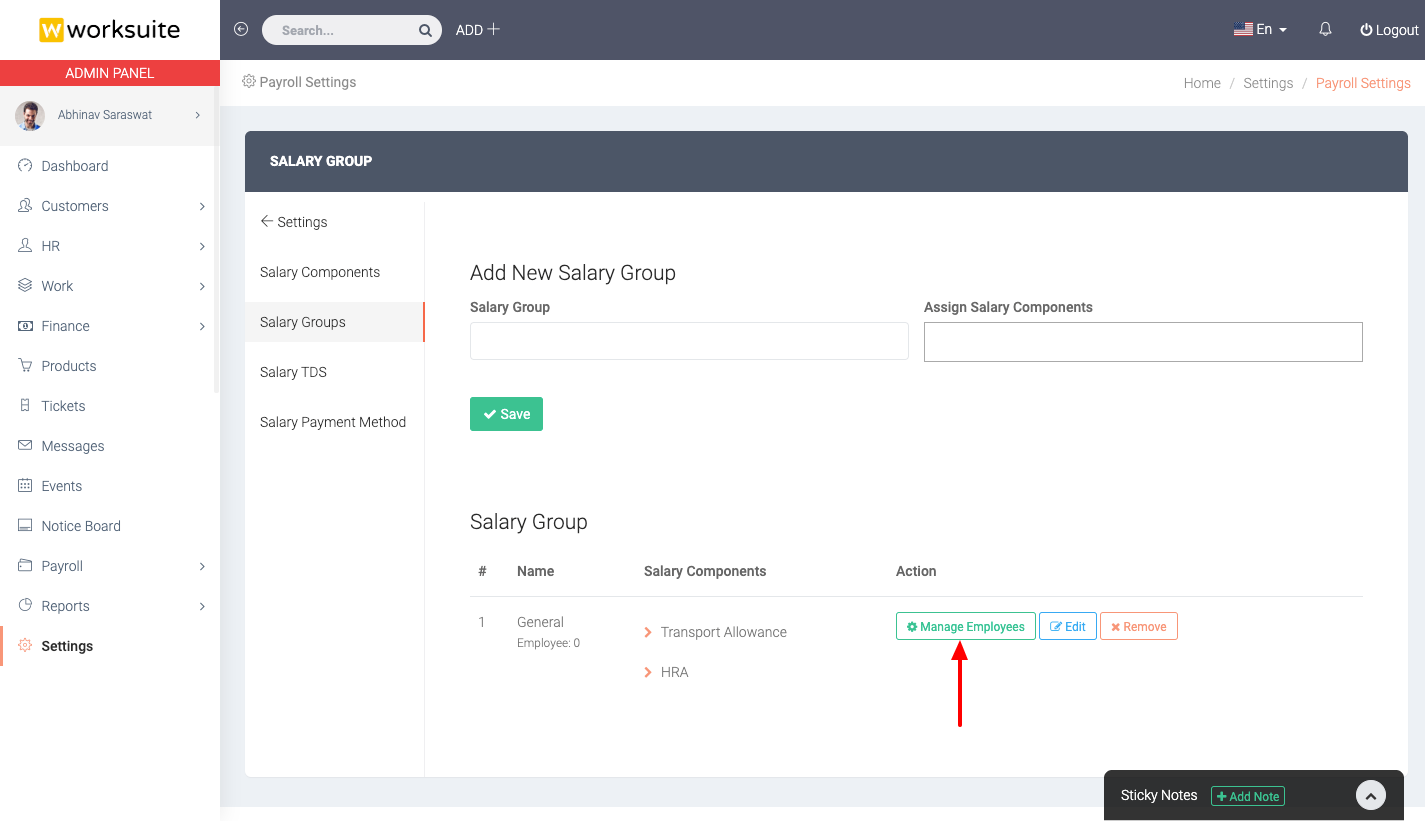
Step - 4 : Add Employees to Salary Groups
After salary groups are created you will have to assign the emoloyees to the salary groups. One employee can be assigned to only one salary group at a time. Click on Manage Employees button for the salary group you want to add employees to.
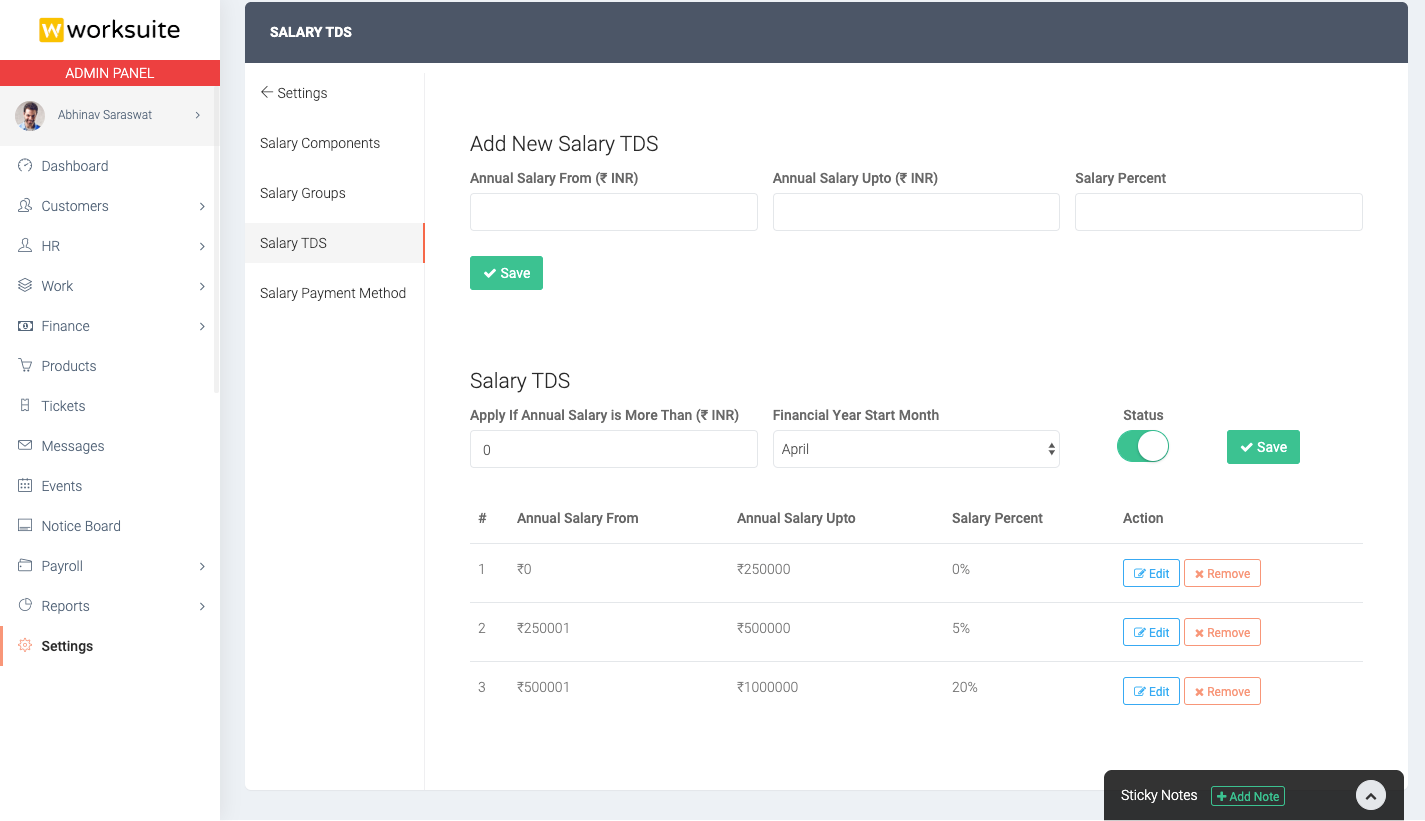
Step - 5 : Salary TDS (If Applicable)
If Salary TDS is applicable in your region then you can setup the salary tax slabs. You also need to set the financial year start month.
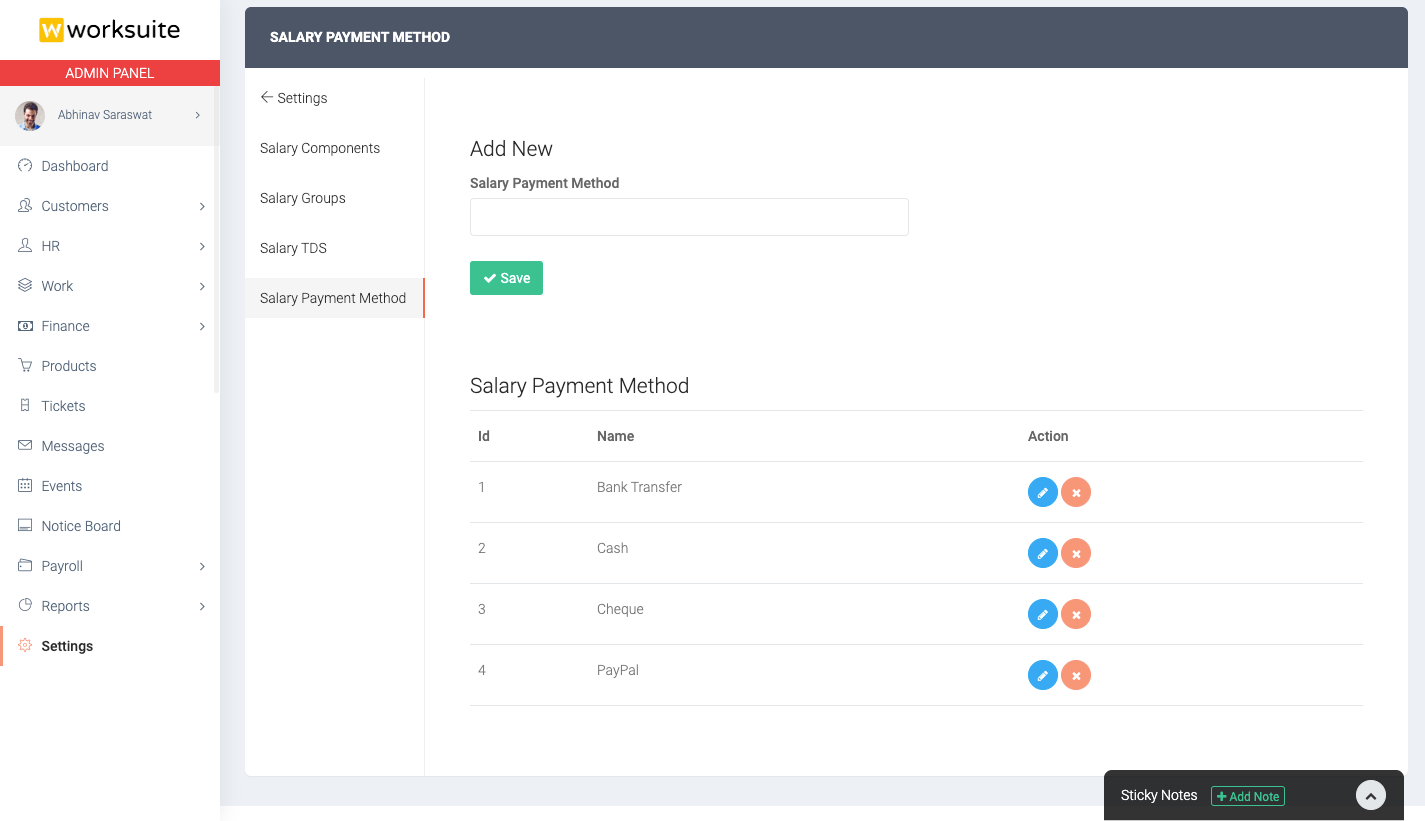
Step - 6 : Salary Payment Methods
You can manage the salary payment methods in this section. These methods are just for information purpose only and is not used for the actual payment.
Step - 7 : Set Employee Salaries
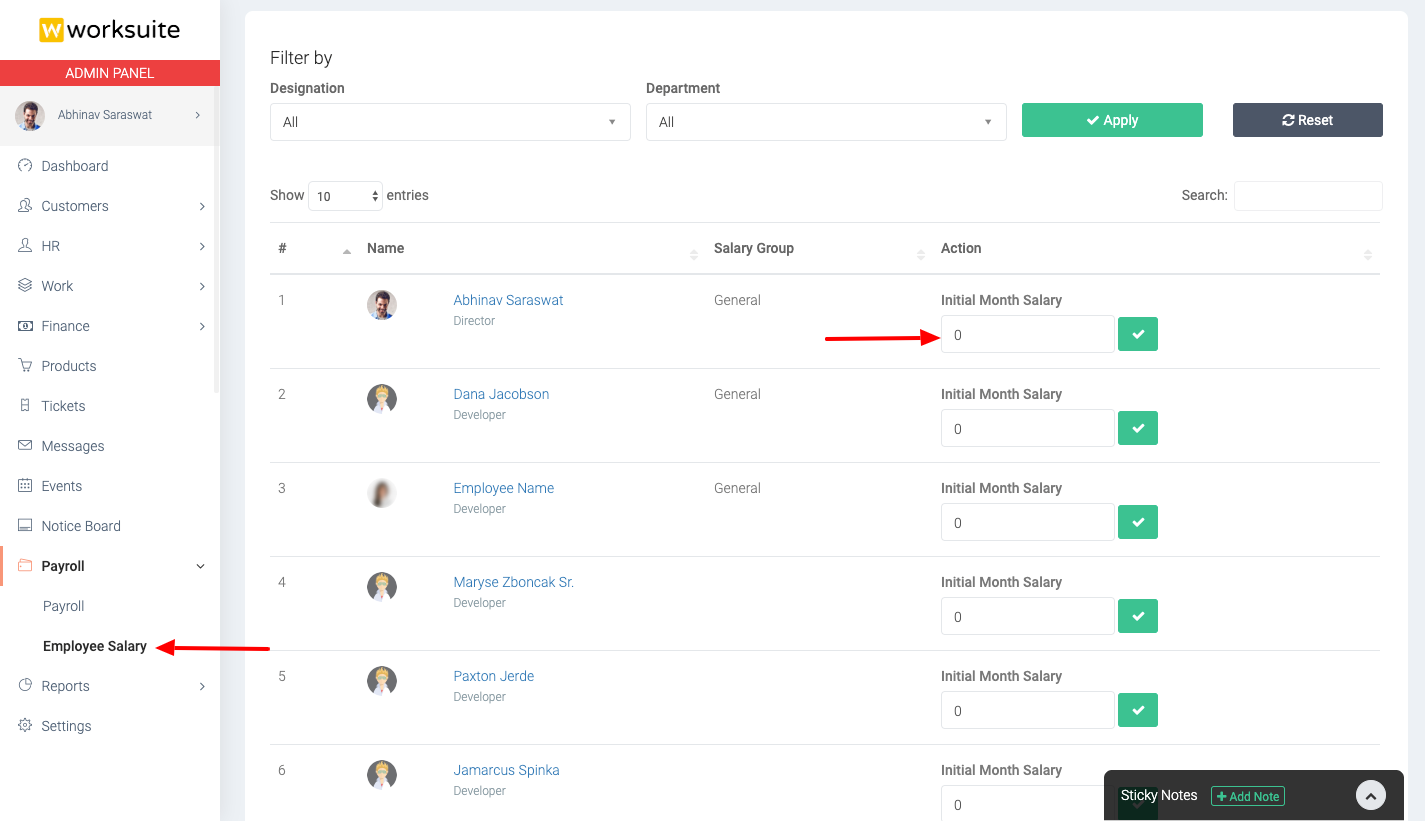
The last step is to set the employee salaries. Go to Payroll -> Employee Salary form the left menu. In this section set the monthly salaries for each employee.
Generate Salary
Step - 1 : Payroll
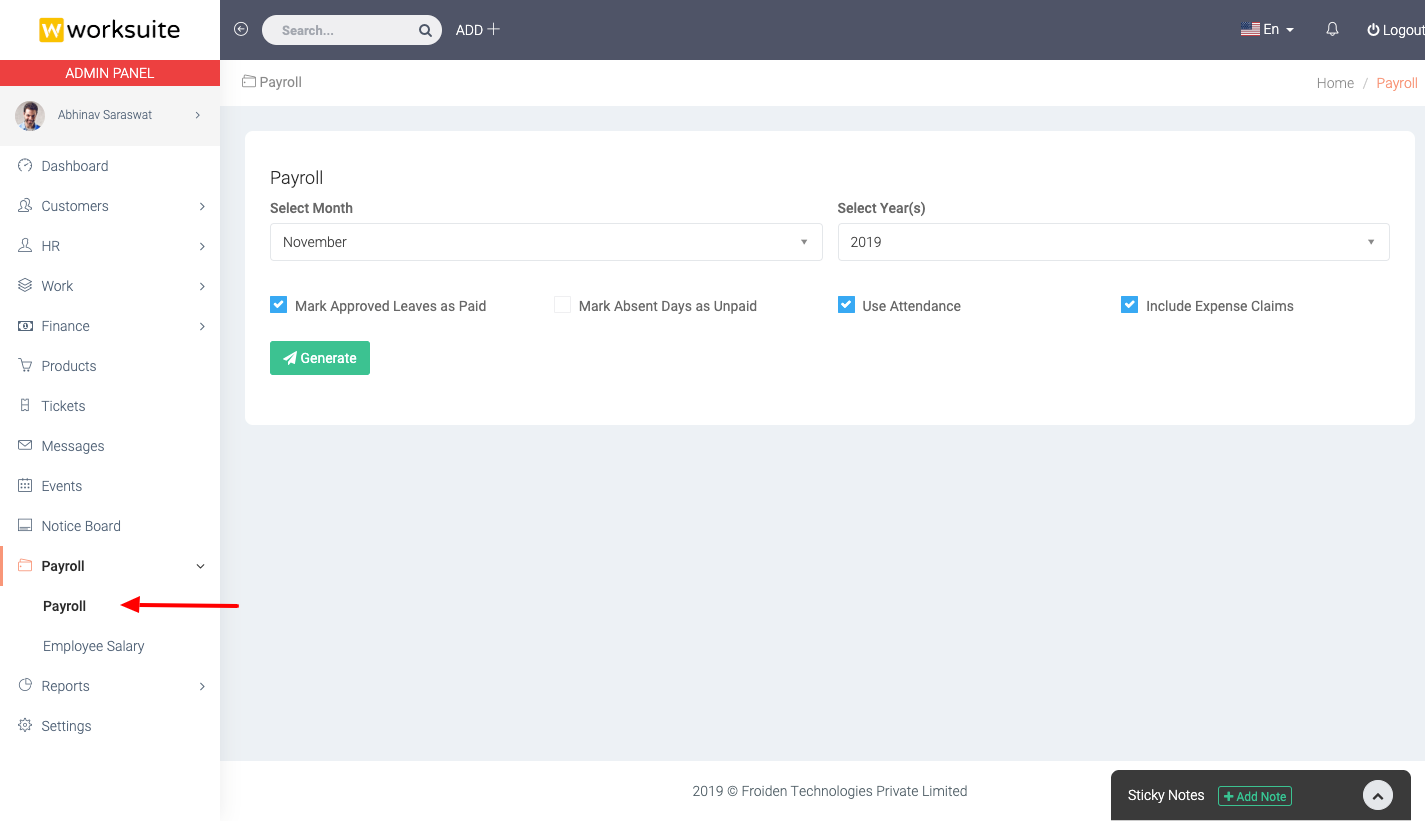
Go to Payroll -> Payroll from left menu.
Step - 2 : Generate Payroll
- Select Month and Year for which you want to generate the salary.
- Mark Approved Leaves as Paid - Select this option if you want to pay for all the leaves which are approved.
- Mark Absent Days as Unpaid - Select this option if you do not want to pay when employee was absent and did not apply leave also.
- Use Attendance - Select this option if you want calculate the salary according to the employee's attendance.
- Include Expense Claims - Select this option if you want to add approved expenses of the employee in the salary.
- Click Generate Button
Change Salary Status
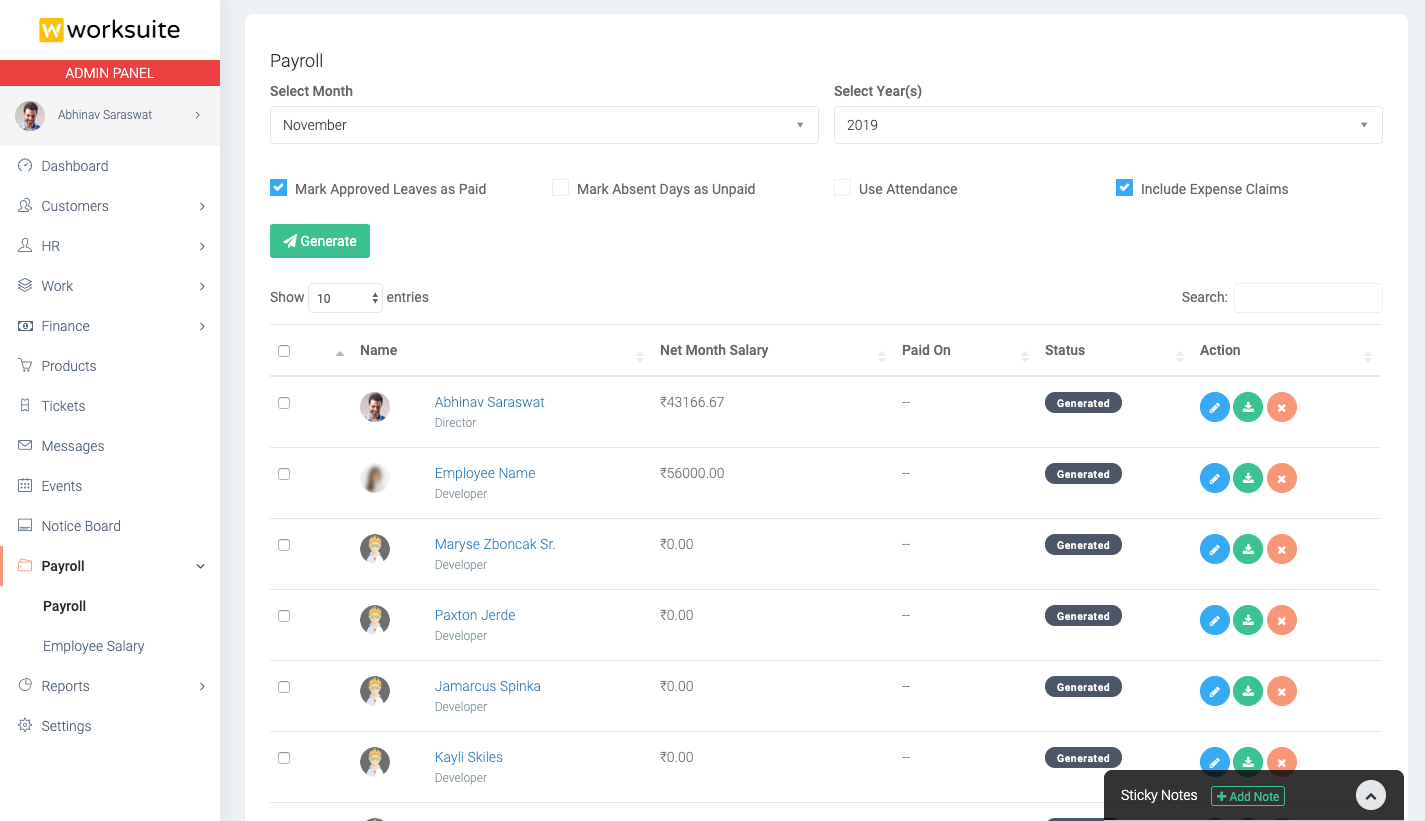
You can change the status of the generated salary to Review, Locked and Paid. To change the status select the salary checboxes and click status button.

Salary Details
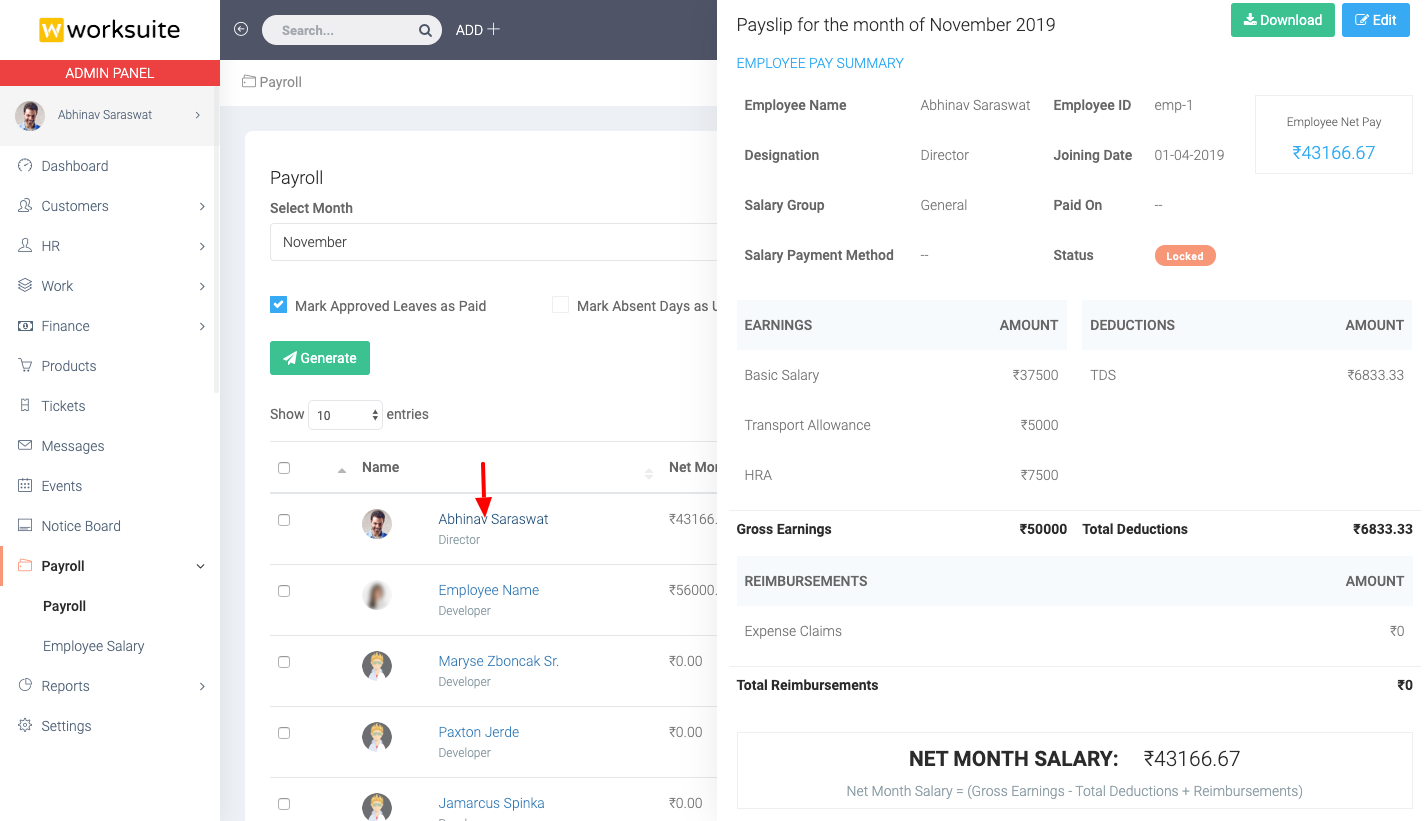
Click on the employee name to view the generated salary details.
Edit Salary
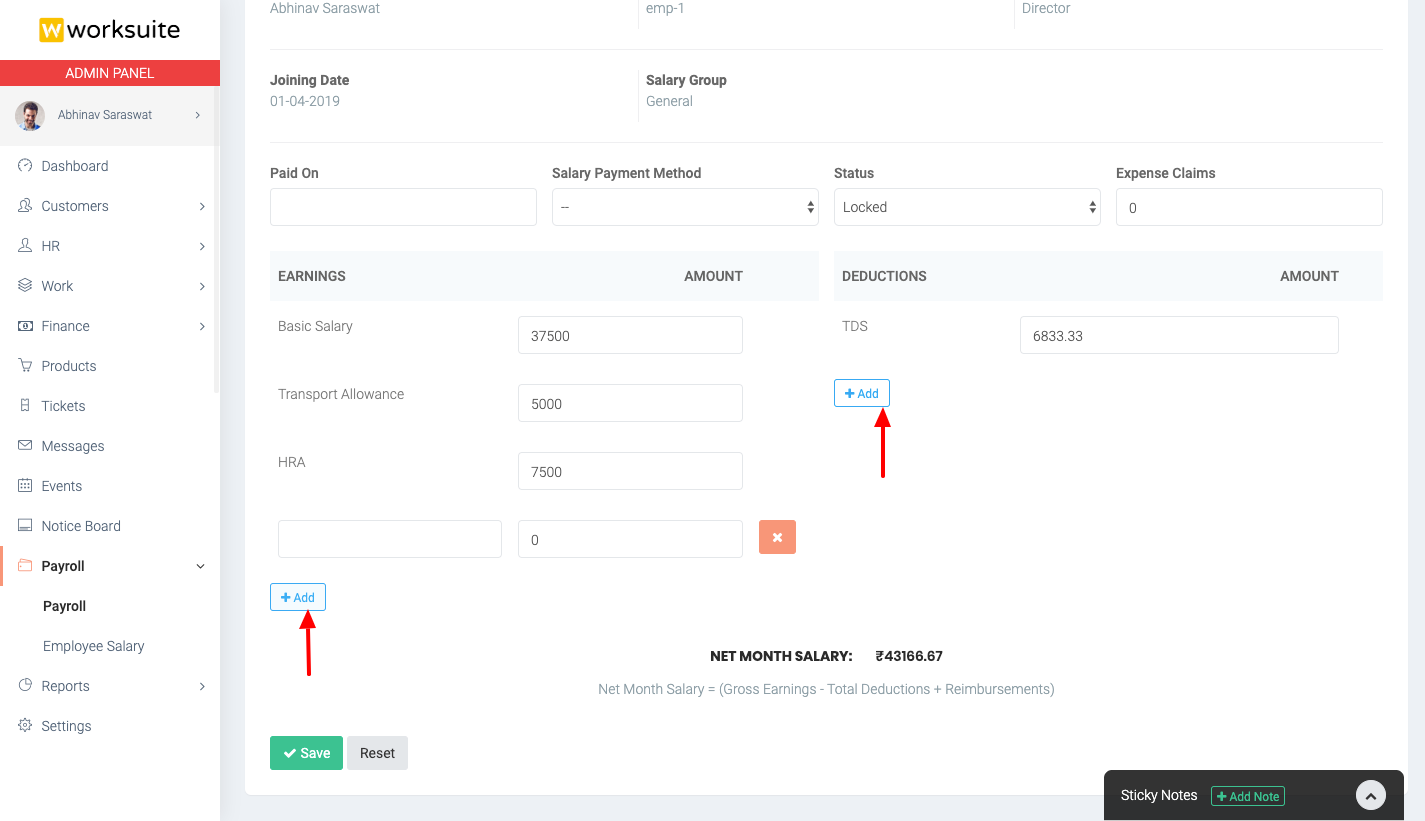
You can edit the generated salary and add more earning/deduction in the salary.
